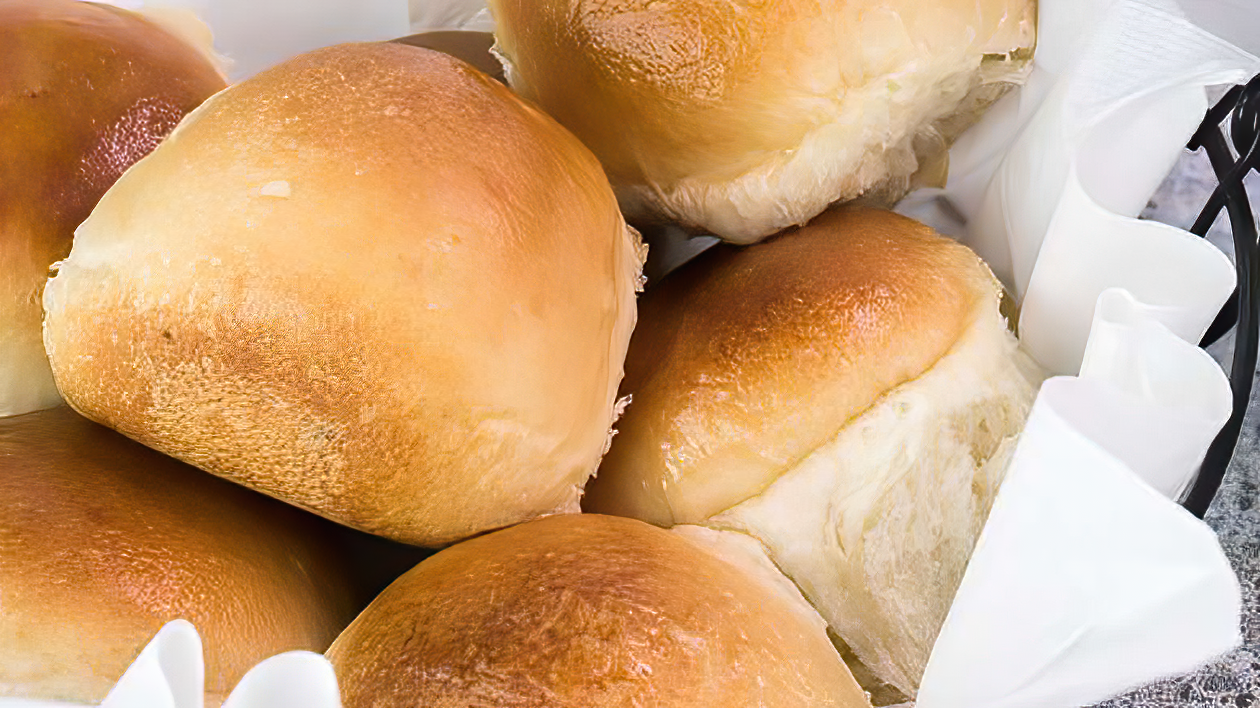
In this post, we covered the reasons why traditional sourdough may actually be better for you than regular bread (white or whole wheat!). I had wanted to make sourdough bread for years before I actually did. Making sourdough starter seemed like this super complicated and finicky process that only expert bakers could attempt. But once I was walked through it step-by-step, I saw how simple it actually is. All it takes is flour, water, and time.
Even though making a sourdough starter takes a few days, it takes very little active time. After a while, looking after the starter and baking with it will become a habit. It may take a few attempts to get it right, but the effort is well worth it, both for the health benefits and the taste.
Once you’ve learned how to make a sourdough starter, be sure to check out this list of recipes for what to create with it – hint, hint – don’t start with bread!
What is a sourdough starter and why do I need one?
A starter, or levain, is a mixture of flour and water that proliferates yeast and lactobacilli over time. These microorganisms feed on the flour, producing ethanol, various acids, and carbon dioxide.
The carbon dioxide is what make the bubbles in the dough and causes it to rise. After a starter is established, we add it to our bread dough (or whatever else we are making) to ferment the dough as the yeast and bacteria continue to predigest the flour.
What kind of flour should I use?
You can make your starter with almost any kind of grain flour, although gluten-free flours are a little more tricky. I’ve had the best results with rye. But feel free to use all-purpose wheat, spelt, rye, or whatever you have handy.
If you are so lucky as to have access to freshly ground flour, that’s even better, but it works out fine with pre-ground flour too.
What about water?
Tap water is often not really that pure, unfortunately. Seeing as chlorine and chloramines kill microorganisms, you’ll want to avoid that when trying to develop a starter. Filtered water is best or, in a pinch, boil and cool the water or leave a jug of water sitting out overnight, though this doesn’t get rid of chloramines.
Time and temperature
The length of time it will take to see activity in your starter depends partially on the temperature.
Sourdough starters perform optimally at room temperatures, between 68F – 77F (20-25 C). The warmer the temperature, the faster the microorganisms act. If the temperature is on the cooler side, it can take longer for the starter to be active.
How to make a sourdough starter
Step 1: Start your starter
In a non-reactive container (glass or ceramic), mix 80g (1/3 cup) water and 60g (1/2 cup) flour. You want the mixture to be thick but stir-able. Mix well with a wooden spoon or whisk – lots of air mixed in is a good thing.
Scrape down the sides to prevent mold. Cover the container so air can exchange but bugs are left out, I usually secure a piece of cloth with a rubber band. Leave in a warm place, 68-77F (20-25C) is ideal.
Step 2: Feed your starter
Every twelve hours repeat adding 80g (1/3 cup) water and 60g (1/2 cup) flour, stirring well, scraping down the sides, covering, and leaving in a warm place.
Depending on the size of the jar, you will need to discard some starter before adding new flour. Do not let the starter equal more than half of the size of the container, otherwise it will overflow.
I know it’s painful to compost what you’re working so hard for (and recipes will be coming on how you can use that excess starter), but the more starter you have, the more food it needs; a 1/2 cup of flour will not be enough for a 12 hr period if there is too much starter.
The first day, it may look like nothing is happening or you may see a bubble or two. The second day should have a couple bubbles. Day three or four it will probably smell awful – you may think you are doing something wrong and that it has gone bad.
Do not despair, but carry on! As the starter continues to mature, the smell will improve. A good sourdough smells sour and yeasty.
Step 3: Use and maintain your starter
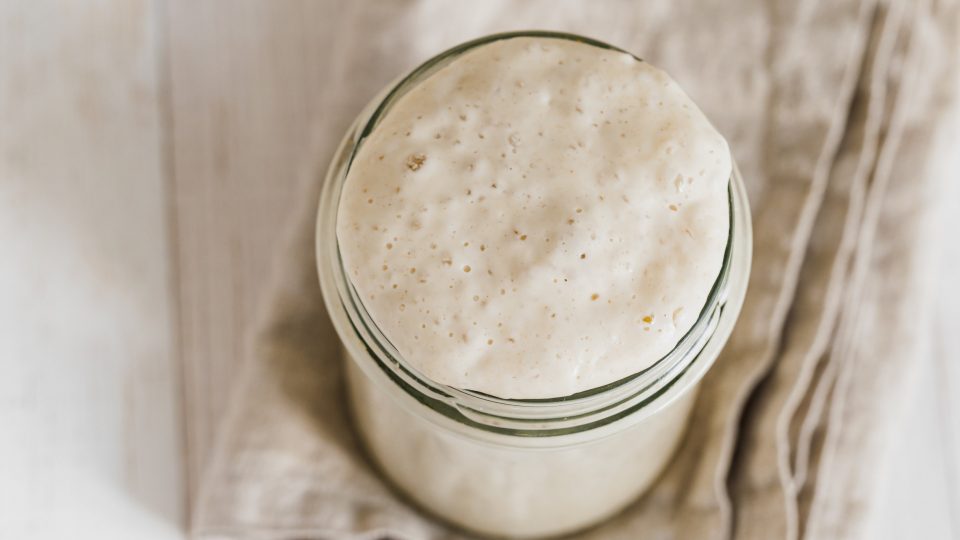
The sourdough starter is ready when it doubles in size and is filled with bubbles. This may take anywhere from five to eight days.
If you use your sourdough often, you can leave it on the counter and feed it twice a day. If you use it less frequently, you can store it in the fridge and feed it once a week.
When you want to bake, take the sourdough out and feed it, let it rest for 12 hrs, and then continue with the recipe. Many recipes call for 100% hydration starter, which means that it has equal parts (in weight) of flour and water. To achieve this, simply feed the starter equal weights of flour and water, for example, 60g (1/4 cup) water and 60g (1/2 cup) flour.
Troubleshooting your sourdough starter
Despite your best efforts, sourdough starters can take some trial and error, so please try not to get discouraged. If you find yourself wondering “What’s wrong with my sourdough starter?” here are two possible answers.
- If you get a layer of dark liquid on top of your starter, called hooch, it means that your starter has run out of food. It may be because you waited too long, the temperature is so warm that the microorganisms are very active, or the starter has too much water. Simply pour it off and continue.
- If you get blue or black fuzzy mold, unfortunately, you’ll need to dump it and start over. The roots of the mold go into the dough and mold is not the kind of microorganism we want to proliferate.
If making a sourdough starter still seems overwhelming to you, take courage! With a bit of practice, you’ll master this art and be impressing your friends and family with your sourdough creations.
How to Make a Sourdough Starter
Ingredients
- 1/3 c water
- 1/2 c all purpose flour
Instructions
- Mix well with a wooden spoon or whisk.
- Repeat this every 12 hours with the same amounts of water and flour.
- Do not let the starter equal more than half of the size of the container, otherwise it will overflow. Discard some of the starter before adding more water and flour.
- The sourdough starter is ready when it doubles in size and is filled with bubbles. This may take anywhere from five to eight days.


Read Reviews
See what other people are saying about How to Make a Sourdough Starter
No reviews just yet. You can be the first!