Okay, the mason jar salad is not a new thing. It’s been trending since 2015… maybe 2013? While you can always pack leftovers, if you prep your lunch mason-jar style, you can pull one in the middle of the day and feel awesome.
Why? Because you’ve skipped the salad bar with questionable ingredients, which means you’ve saved money and you may even feel less bloated.
When you wake up, you can hop from your bedroom to the car in what seems like a blink of an eye, toting your mason jar. Which means you’ve cheated time. And when lunch rolls around, you can teeter on the edge of gloating because your mason jar salad is so gorgeous.
And everyone wants to eat pretty food, right?
How to make a mason jar salad
This is where things get technical. You may even want to take notes. Or draw pictures. Because if you really want a mason jar salad that tastes crisp and delicious after a couple days in the fridge, you must understand your layers.
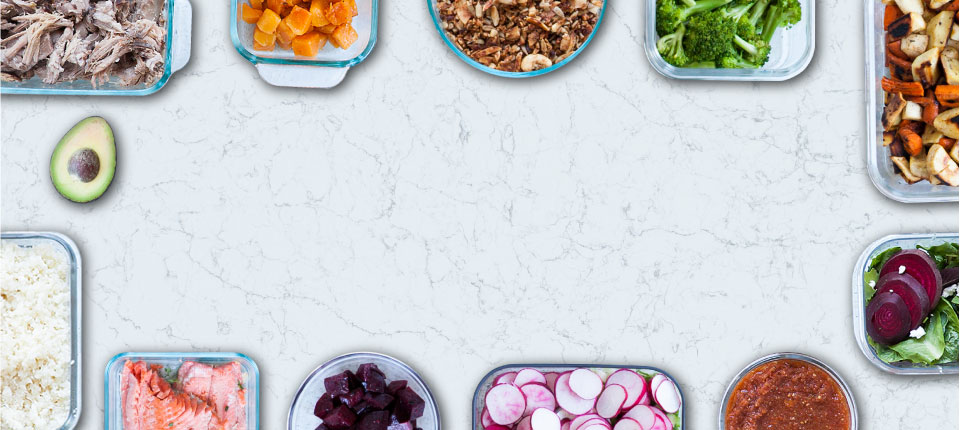
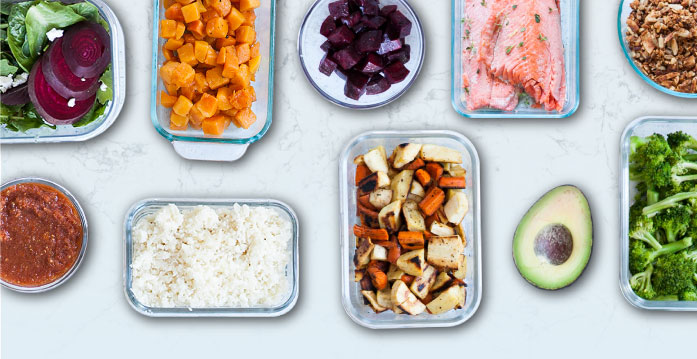
First things first, begin with a wide-mouthed mason jar. You could go pint-sized. Or consider a quart if you’re packing plenty of greens.
Layer one – Salad dressing. This is the sauce that pulls everything together. Dressing usually causes greens to wilt and blacken – which is not beautiful and not what we’re going for. In order to protect perfect lettuce greens, you absolutely must layer wet ingredients like dressing, salsa, or hummus at the bottom.
If you think your jar may get tossed around while traveling, you may want to pack the salad dressing inside a silicone cup like this. Depending on the size of your jar, you may need up to four tablespoons of dressing.
Layer two – Hard veggies. These veggies won’t change much when they come into contact with wet salad ingredients. Think crudités – like broccoli, cauliflower, and carrot sticks. Also red cabbage, bell pepper slices, cooked beets, ribbons of fennel bulb or celery, bits of onion, and cucumber rounds
Layer three – Soft veggies and fruit. This includes things like scallions, mushrooms, sprouts, and raw zucchini noodles. Also slices of strawberries, nectarine wedges, avocado with a squirt of lime, and halved cherry tomatoes.
If you’re packing jars for the week, add this layer in the day you intend to eat your salad.
Layer four – Greens. Baby lettuce greens, kale chopped into manageable pieces, spinach leaves, and chopped romaine. And don’t forget the fresh herbs. Bright and flavorful, they bring a lot of love to your salad. Try cilantro, basil, or mint.
Layer five – Protein. This includes nuts (toast ’em for a pop of nutty flavor) and cheese, if you do dairy. Also, meat like shredded beef seasoned with cumin and oregano, leftover slow cooker chicken, or lamb roast from the night before.
Same as layer three, it’s usually best to save this one for last and pack it the day you eat your salad.
How to eat a mason jar salad
When the time comes to eat your salad, take off the lid and turn the jar upside down over a bowl. Give it a good shake. The dressing should coat your veggies as they come tumbling out.
Next, pull out a fork – or, spork if you’re retro. Before you dive in, toss the salad greens one final time. Then enjoy.