Grilling meat can render it juicy, tender, and full of flavor…or dry as a bone and hard as a rock. Our Grilling 101 guide gave you the basics of the BBQ and now it’s time for the next step. Get ready to WOW your guests with your new skills.
The lowdown on flavoring meat
Wet rub or dry rub? Brine or marinade? Glaze or sauce? This debate runs hot among die-hard grilling fans. Here’s a guide to the differences so you can decide which team you are on.
A dry rub is a mix of spices, herbs, salt, and sometimes brown sugar, that is rubbed into the meat before it is cooked. This helps create a delicious crust.
Wet rub is the same but made wet (duh) with oil, vinegar, and/or tomato sauce. Just make sure to rub it in gently – doing so too vigorously will tear the meat fibers.
Brine is typically a soak in salt water – though sometimes other flavors are added. The brine soaks into the meat and the moisture naturally softens it.
Marinade is like a brine, but you let the meat sit in oil and acid to soften the meat fibers. This imparts lots of flavor rather than moisture.
Glazes and BBQ sauces are brushed on the meat towards the end of cooking. A glaze is thin and usually one or two ingredients, with sweeteners that caramelize over the grill. A sauce is thick with complex flavors and can be both brushed on and/or used as a dipping sauce.
Getting the classic burger right
What’s a BBQ without burgers? Here are the tricks to keep them from turning into blackened hockey pucks.
First, make the patty yourself. It’s more work than buying pre-made, but well worth the effort. Use ground chuck instead of lean meat because it’s the fat that gives it the moisture and flavor. Season them as you please, and don’t forget the salt.
When shaping the patties, handle the meat as little as possible. Overworking them will make them tough. Remember that the patties will shrink as they cook, so make them a little bigger than you want. And finally, make an indent, or even poke a hole with a finger through the middle, to help the middle cook faster; the hole will close up as it cooks.
Cook the burgers over hot direct heat and only flip them when the juices start to rise to the top.
Use a meat thermometer to get them to the right temperature. And don’t forget that even burgers can benefit from a ten minute rest before eating them.
No fail hot dogs
Hot dogs are another grilling classic, but raise your hand if you’ve ended up with charred dogs that are still cold inside. Here are two no-fail ways to get the perfect wiener.
You can boil the hot dogs first to warm up the interior, and then place on the grill for a minute to crisp up the outside.
Or, you can spiral score your dogs, giving them more surface area for that delectable crispiness.
Steaks: Perfect temperature and perfect sear
Getting the temperature and the sear right on a steak is just a matter of using direct and indirect heat at different times.
But first, take your steak out of the fridge at least 20 minutes before you put it on the grill. Make sure the outside of the steak is dry. If you remember, salt it the night before. But who remembers things like that? You can just do it 30 minutes before grilling.
Then you get to choose whether you want to sear them first or at the very end. Everyone has an opinion on the matter, but we think it doesn’t matter. Whenever you choose, sear over high direct heat very quickly, just until you get those good grill marks.
To get the internal temperature right, place the steak over indirect heat. It depends on your grill, but generally, we turn temperature under the steak as low as it will go, while leaving the other burners turned up to medium high.
Use your meat thermometer to get it close to your perfect temp and take it off a few degrees early. Don’t forget to let it rest!
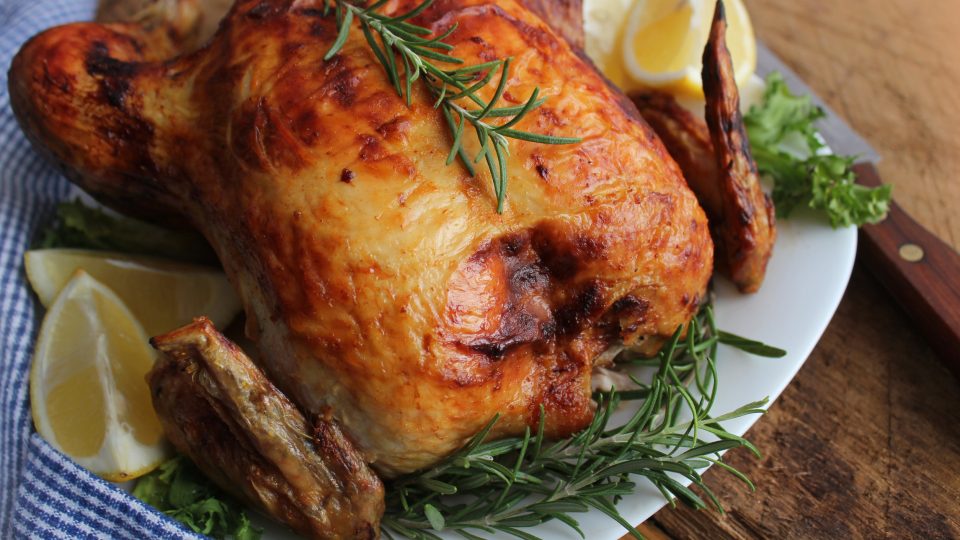
Perfect chicken every time
Pick your cut.
We love bone-in chicken thighs on the grill. They have the perfect amount of fat and you can get that perfect crispy skin. The fat drips down though, and they can cause your grill to flair up, so cook them longer over more indirect heat.
If you love chicken breasts, hammer them first so they are an even thickness. That way you won’t be waiting for the middle to finish cooking while the sides just turn to dust. They have very little fat so cooking them quickly over the flame will keep them nice and moist on the inside.
If kebabs are on the menu, make sure you don’t cram the meat together, but place the pieces of meat so they are just touching,. This will keep them nice and juicy.
If you really want to impress a crowd, use a whole chicken and try the brick trick.
With a sharp pair of kitchen shears, cut your chicken along the spine so you have a nice flattish piece of meat. Salt both sides and place the chicken on the grill skin side down. Cover a regular brick in aluminum foil and lay it over the chicken on the grill. It helps with even cooking and killer grill marks; but, most of all, it locks in the moisture.
Pro tip: Don’t like when aluminum foil comes in direct contact with your food and heat? Neither do we. You can use anything heavy that is (super) heat safe to weigh down your chicken. Maybe use your cast iron pan.
Your friends will think you’re nuts, until they taste your perfect chicken.
Don’t be afraid to grill some fish
Fish can be intimidating to grill because you might end up with more fish stuck to the grates than on your plate.
Before placing the fish on the grill, oil both the fish and the grill. The oil doesn’t stay slippery on the grill, but rather the heat causes it to season the metal grate, much like seasoning a cast iron pan. Then, place the fish skin side down on the edge of the heat, right between direct and indirect heat.
Make it easy on yourself and just close the lid and let convection heat cook the fish straight to the top and skip flipping it. It will be perfectly cooked and you won’t regret it.
Or, if you’re dying to get those grill marks on top and your fish is a little big, use two spatulas to gently give it a flip. Just wait until the fish is 3/4 of the way done.
Fish is cooked at about 125-130°F, so take it off a few degrees below and let it finish cooking off the grill.
Cedar planks are a fuss free way to cook a fish fillet. Not only do you not have to worry about it sticking to the grill, but the cedar imparts unique flavor to the fish that everyone will love.
Don’t forget to soak your cedar plank for at least an hour in water and preheat it in the grill for a few minutes. Sprinkle a dry rub on the fillet, place it on the cedar plank, and close the lid. Use a meat thermometer to get it close to the desired temp and pull out the whole plank.
The fish will continue to cook for a few minutes when it’s removed, but then you can use the plank as the serving platter. It really couldn’t be easier.
But how do I know when it’s done?
We’ve mentioned it a few times in this post, but in case you didn’t get the memo, we highly recommend a digital meat thermometer. Put it into the thickest part of the meat and be sure that you aren’t touching the bone or the grill.
And don’t forget, when you take meat off the grill to rest, it still cooks for 5-10 minutes.
Now you really are a grill master.